Mapping Events from Universal Analytics to GA4 – A How-To Guide with Resources
Originally published: July 15, 2022
You have less than a month left to avoid losing your analytics data. If you have not already installed GA4 it needs to be done now to avoid a gap in your data. Read through Hammer Marketing’s original blog for guidelines on how to set up your parallel tracking property in Google Analytics 4.
Don’t panic if you’ve waited until the last minute – our team can help transition your analytics before the deadline. Reach out for a consultation.
****
In early 2022, Google announced Universal Analytics (UA) would end on July 1, 2023, and all properties will migrate to Google Analytics 4 (GA4). July is the perfect month to set up your new parallel tracking code to gather at least one year’s worth of historical data.
While setting up a new GA4 tracking may seem easy, spoiler alert… Your UA analytics events will NOT magically switch over to GA4.
Problem: If you don’t have an event transition plan in place, you run a risk of having a gap in your analytics data. (Especially relevant for websites with more than 10 analytics events.)
Solution: To ensure a comprehensive analytics switch, you will need to create a master document that maps your old events to new GA4 events. Here is where this blog comes in.
This blog will guide you step-by-step on how to (1) set up your basic GA4 tag, and (2) How to map your old UA event naming to new GA4 event names.
If you are a digital marketer, follow these steps to map out a plan for your UA to GA4 event transition. Not only will this save your marketing department tons of headache. This document will also act as a reference for Year-over-Year report comparison, as you match up old UA events to their GA4 counterparts, and report changes to senior leadership.
Let’s get started.
Step 1: Understand the Differences Between UA and GA4
Change can be daunting but, in this case, the flexibility offers an entirely new approach to metrics that can benefit your tracking. Rather than tracking users through page views, events, E-commerce, social interactions, timings, and screens, GA4 gathers data using events only.
So how do you go about the transition while still maintaining custom parameters from UA? We’ll cover the basics here, including tracking page hits, page views, and users and events.
Step 2: Set up your GA4 Tracking Tag (Prerequisite: GTM knowledge)
Google Tag Manager (GTM) is the easiest and most functionally useful way to run GA4. Unless your client specifically requests running Analytics without it, GTM makes your job as a digital marketer much easier.
Parallel tracking allows the collection of historical data while simultaneously helping you transition over seamlessly. Ready to get started?
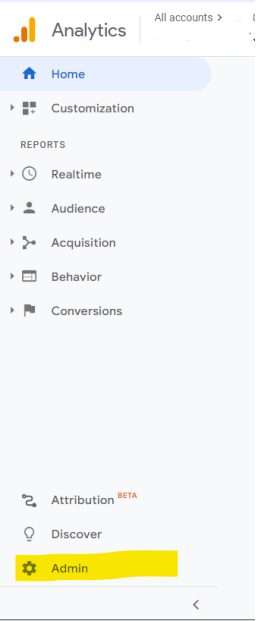
1. Sign into your Analytics account and go to the bottom left-hand corner and choose Admin.
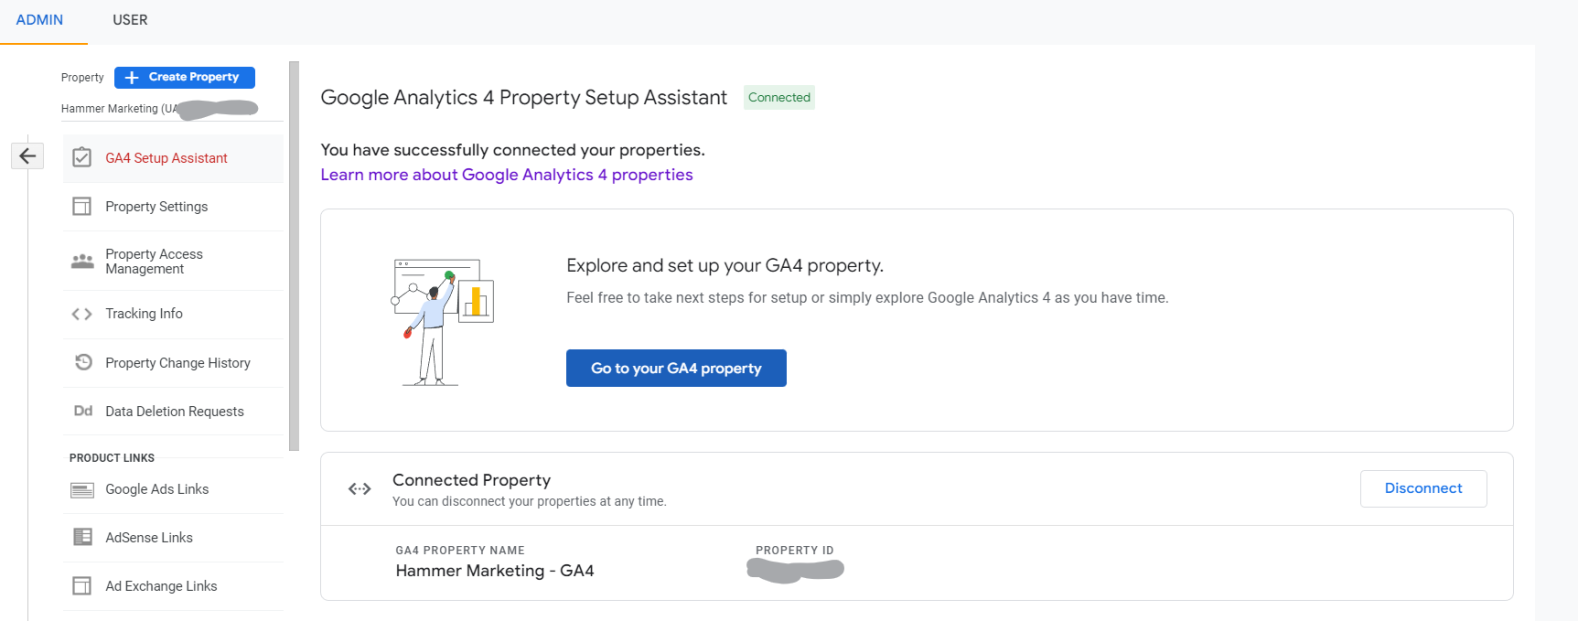
2. In the middle column, choose GA4 Setup Assistant.
3. Choose the “I want to create a new Google Analytics 4 property” option and then “Create property”. You will see this screen.
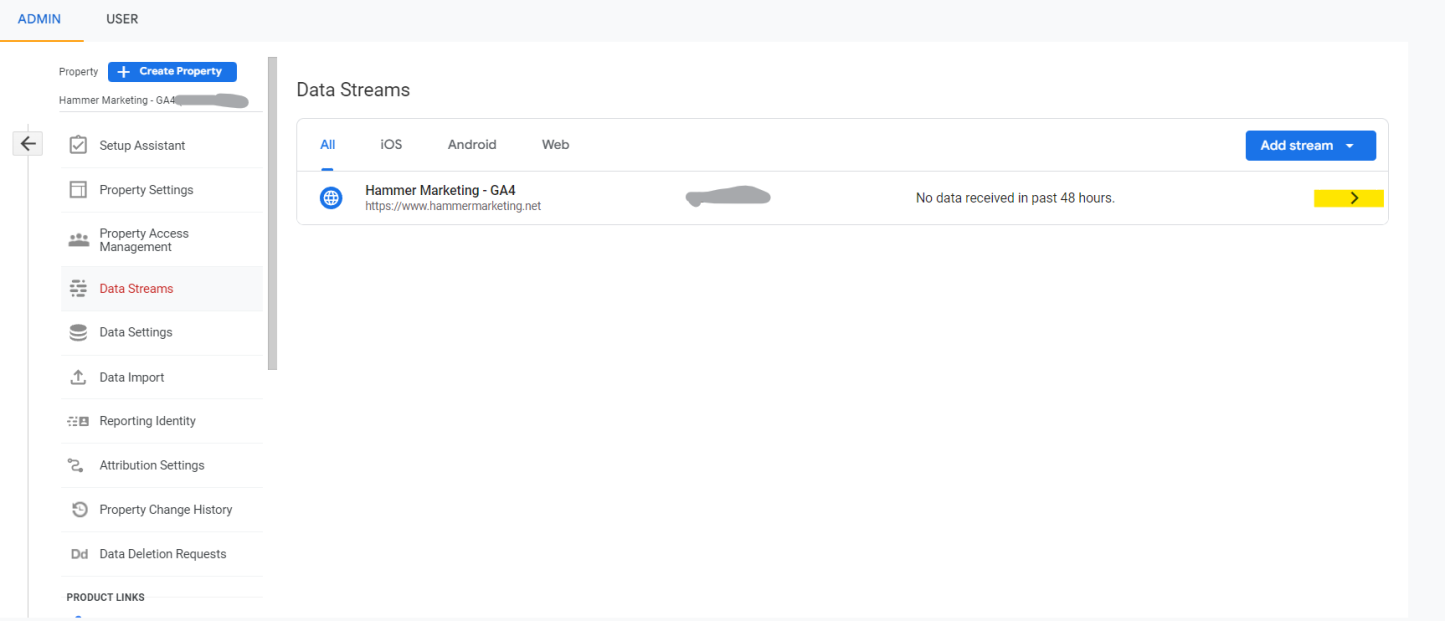
4. Next, we will start our Tag Installation. Again, in the Admin section, under your property column, go to Data Streams. Click on your new GA4 data stream. Ours is called HammerMarketing – GA4. Yours will be called differently, based off your website name.
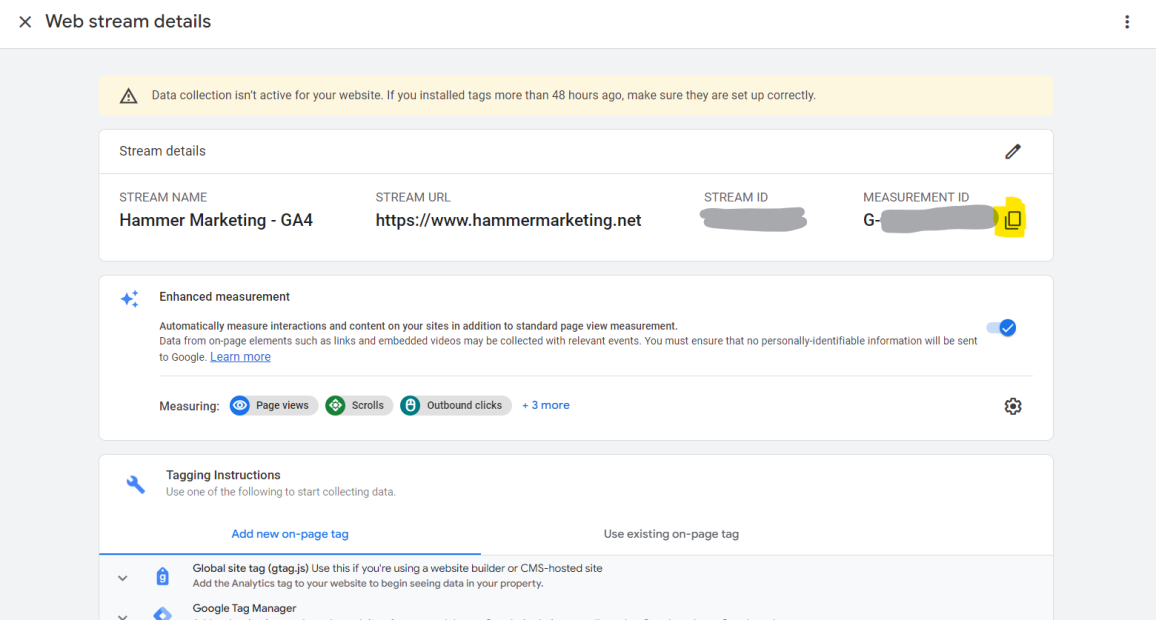
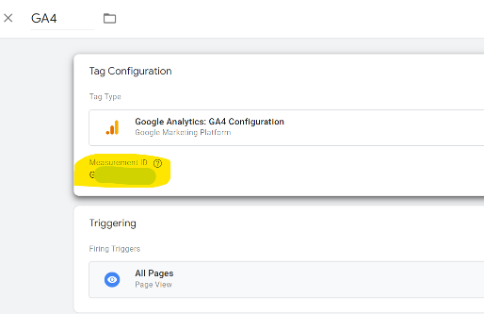
Now let’s grab the Measurement ID, in the top right corner. Click the copy button.
5. Go to GTM. Create a new tag. Name it “GA4”. Add in the element details, as below.
6. Prior to proceeding to the next step, make sure you test this in debugger. This will save you headache later on.
7. Back in Analytics, navigate to your new GA4 property. On the left-hand side, choose Configure and Debug View.
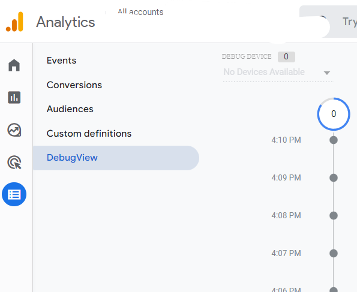
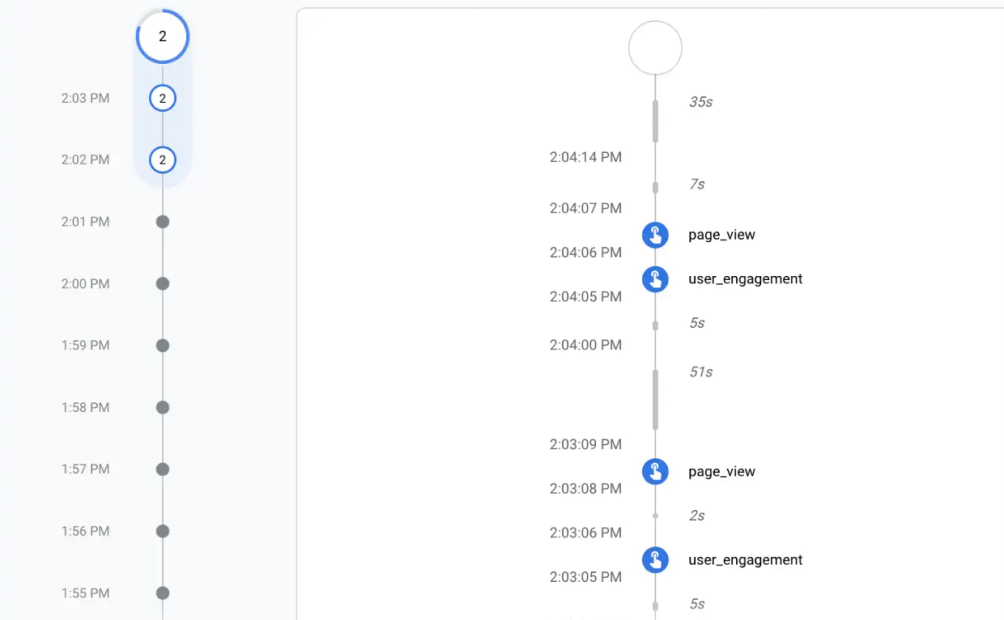
8. Give the system some time as the change is not instantaneous. It should reflect your Step 6 debugger test and start showing page_view and user_engagement events. Note: There is often a weird delay in showing Debugger data upon installing your GA4 tag. If your data is not showing right away, give it a few hours to 24 hours (sometimes even 48 hours), and check back. If working correctly, you should see something like this in Debugger.
9. Back in GTM, publish your GTM container with the new tag and you’re done with the new GA4 property creation!
Step 3: Grab our event mapping and event naming convention template
Naming conventions keep your data clean and neat and allow for consistency across your team. Even if you do not currently have many events, establishing events and parameters early on will keep you organized in the long run. Feel free to share this document with your team.
Download our Event Mapping and Event Naming Convention Template

Pushback from management? Remind them when new team members are added, naming conventions allow them to get up to speed quickly and keeps their Analytics clean and easy to review. Helpful tip from the Hammer Team; look into the future. What types of events will you be tracking? Focus your naming on projected tracking so you do not need to go back into the system and edit names later. Your future self says “Thanks!”
Step 4: List out existing UA events
Simple, we like it. (See sample below) Use that same spreadsheet you downloaded above and fill in all the events you have so far. The blue section is for your new naming convention. Once you’re ready to begin the switch, keep track of everything for future reference.

Step 5: Create GA4 event names – standard event names first
Custom event names are great, but GA4 does have some suggestions for basic events. It’s best to stick to this list unless there is a unique event that doesn’t fit into any of the recommended ones. E-commerce events MUST use the same names suggested for basic events. We’ve linked the suggested names below for reference.
Step 6: Create GA4 event names – custom event names second
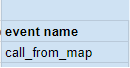
If you cannot find a standard event that matches what you need. It is time to create your custom event names. For example:
Step 7: Add GA4 event parameters – standard parameters first
Remember that you no longer have the category / action / label / value structure for GA4 events? Time to invent new parameters that you want to use. Again, take time to think through them, see how they can be shared among different events. And map them out in your naming convention doc.
Before making up all custom parameter names, refer to the default parameter naming that GA4 recommends that you use. There is a limit to how many custom parameters you can have.
Here are some links a list of default parameters for some default events.
Regular website parameters – Google
Another helpful link that says which parameters to use with which events: Enhanced measurement events in Google Analytics 4 (GA4) – Optimize Smart
Ecommerce parameters – Google (Note: It is required that you stick to Google’s parameter naming when building your data layer.)
Note: If you want to create a parameter that you don’t see in any of these libraries, you will need to create your own custom parameter. That is the next step.
Step 8: Add GA4 event parameters – custom parameters second
After you exhaust all the standard naming conventions listed above, you’re ready to implement any custom parameters that exist. Feel free to get creative with the names but stick to your naming convention.
Step 9: Get your event mapping approved
In 2023 and 2024, you’ll likely need to pull reports comparing old UA data with your new GA4 property metrics. The spreadsheet will continue to be your reference when analyzing Year-over-Year data trends.
Your guide is ready to go. Ensure your manager approves the naming you came up with prior to implementation. Once approved, use this as your template to switch all the events over from UA to GA4 and stick to your naming convention.
In 2023 and 2024, you’ll likely need to pull reports comparing old UA data with your new GA4 property metrics. The spreadsheet will continue to be your reference when analyzing Year-over-Year data trends.
Step 10: Ready, Get Set, Go! You now own the roadmap for your new GA4 events
Time is the last element. When appropriate preparations are done, you’ll find that implementation moves smoothly. Be kind to yourself as you work on switching over and work on learning the process.
Hammer Marketing is here to help. If you need help with the GA4 transition, we are happy to provide technical and best practices advice. Reach out to us today.